Welcome to
Home Appliance Diy
| ALWAYS UNPLUG FROM MAINS. Remove 2 screws from lid (shown in picture). | 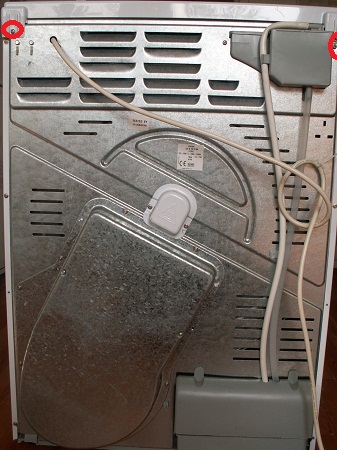 |
 |
Push lid ( as shown in diagram ) until it moves back then lift lid.It can be very tight and can need a hard push. |
| Remove the six screws as shown in the picture.The shaft cover will come off when the two screws in the middle are removed .Then remove the screw at the top of the side panel ( near the front ). |  |
 |
The side panel will slide to the rear of the machine then lift up to remove. |
| Some have this type of rear shaft cover the screws are circled. |  |
 |
Go to the side and disconnect the heater plug the remove any ties securing the heater wires. |
| Remove all the screws securing the heater and remove the heater.MIND THE WIRES.Put the heater in a safe ,dry place for 24 hours. |  |
 |
This is the offending article.Put is somewhere warm to dry it out.If it won`t dry out then a new one will be required . |
| Remove the condenser by turning the clips and pulling it out. | 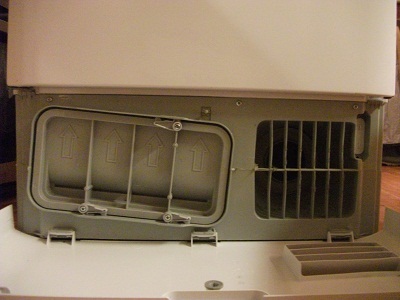 |
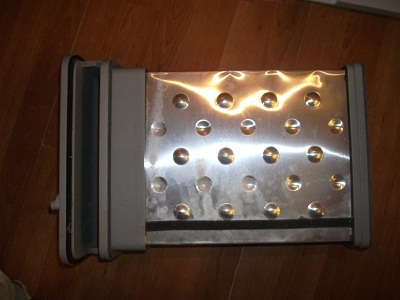 |
The condenser must be kept clean and the ideal way is to get the hosepipe or jetwasher out. |
| All this needs to be removed. | 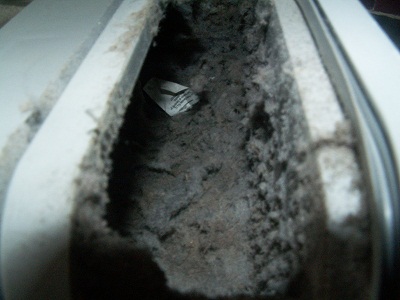 |
 |
Right at the back of the condenser compartment needs to be cleaned,there ia a hole and a groove . Try to remove any of the fluff in there aswell. |
| Next we need to go round the back. If you take the other side panel off then the clips can be seen to remove the pump cover . There are 2 types of pump cover and this is the old type. |  |
 |
Once the cover is removed the pump, water level switch can be seen.This is the new style pump.The old style comes in a kit to convert to the new style. |
| When the assembly is removed the float / pump can be seen in more detail.When the water level rises it raises the polystyrene float and operates the switch to switch on the empty water light. |  |
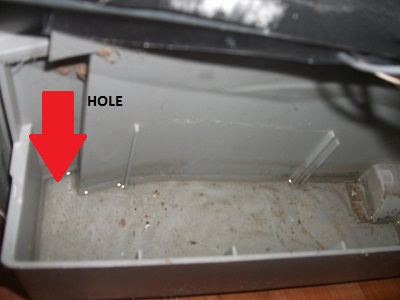 |
Remove any fluff from the plastic base and check the hole as seen in the picture .Put some clean water in the base when finished to check the water is pumped up to the bottle later.Then i re-assemble and tested. |
If you cannot find what you are looking for or need help then just drop me a message at Appdiy@yahoo.co.uk.
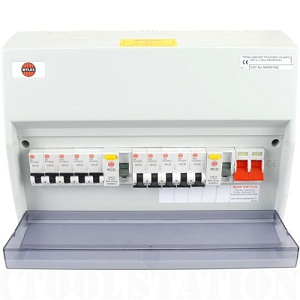 If the dryer is beginning to trip the rcd then the most probable cause is water on the heater.The heater must be dried out (if poss) and any blockages removed.To test this theory if you unplug the heater plug and let it run it shouldn`t trip( if you read this through it should show you how to get to the heater plug).If it`s a digital model then the heater will be plugged straight into the pcb (note if you unplug the heater from the pcb then a fault code could accur).